IoT Coffee Maker
Every Internet-enabled house needs an Internet-enabled coffee maker! (This article is a dumb project I worked on in my degen college years)

For a while now, my roommates and I have been looking for an excuse to take advantage of the ESP8266 platform and build an “Internet of Things” in our house. So far, I’ve got a reed switch in my room that fires off webhooks whenever it’s opened or closed, but so far nothing practical.
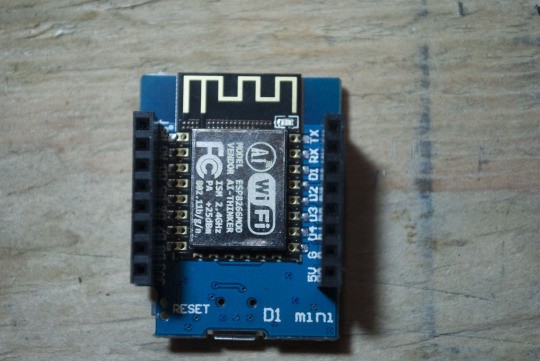
For this project, I’ll be using a WeMos D1 mini. It’s a dead simple ESP8266 board with a micro-USB connector ready to go. You can pick it up on Aliexpress for ~$3 with free shipping. In addition, WeMos makes a relay module you can put right on top of the board similar to an Arduino shield, and we’ll be using that as well.

Disassembling the cheap coffee maker I got at Fred Meyer was pretty easy, but the four screws on the base were tri-wing, so be ready for that.

Once you remove the bottom cover, you’ll see something like this. Also, I never thought to take pictures before I started wiring shit up, so just ignore those. On the bottom right is where the AC is converted to the DC, for the control circuit up at the top.


Here’s the PCB up close, front and back, nothing complicated. The two traces in the middle that go to the on/off button are wired up to the relay module that’s already connected to the D1 pin on the WeMos.

Finally, I used some hot glue to stick the board to the side of the case. Let’s put this thing back together and write some code.
#include <ESP8266WiFi.h>
#include <stdlib.h>

const char* ssid = "MAAQ";
const char* password = "";

WiFiServer server(80);

void setup() {
  pinMode(LED_BUILTIN, OUTPUT);
  pinMode(D1, OUTPUT);
  pinMode(D3, INPUT_PULLUP);

  // Attempt to connect to WiFi, blink while connecting, solid while connected
  WiFi.hostname("COFFEEMAKER");
  WiFi.begin(ssid, password);
  while (WiFi.status() != WL_CONNECTED) {
    digitalWrite(LED_BUILTIN, LOW);
    delay(250);
    digitalWrite(LED_BUILTIN, HIGH);
    delay(250);
  }
  digitalWrite(LED_BUILTIN, LOW);

  server.begin();
}

void loop() {
  WiFiClient client = server.available();
  if (!client) {
    return;
  }

  // Wait until the client sends some data
  while(!client.available()){
    delay(1);
  }

  // Read the first line of the request
  String request = client.readStringUntil('\r');
  client.flush();

  client.println("HTTP/1.1 200 OK");
  client.println("Content-Type: application/json");
  client.println("");

  if (request.indexOf("GET /led HTTP/1.1") != -1) {
	  client.println("{");
	  if (digitalRead(D3) == HIGH) {
	  	client.println("\"led\": false,");
	  } else {
	  	client.println("\"led\": true,");
	  }
	  client.println("\"success\": true");
	  client.println("}");
  } else {
    if (request.indexOf("POST /toggle HTTP/1.1") != -1) {
    	client.println("{");
	    digitalWrite(D1, HIGH);
	    delay(250);
	    digitalWrite(D1, LOW);
	    delay(250);
		if (digitalRead(D3) == HIGH) {
			client.println("\"led\": false,");
		} else {
			client.println("\"led\": true,");
		}
		client.println("\"success\": true");
		client.println("}");
	} else {
		client.println("{");
		client.println("\"success\": false");
		client.println("}");
	}
  }
  delay(1);
}
If you can’t tell what any of this does, don’t worry. Let’s go over it:
- Attempt to connect to the home WiFi network, blinking an LED until it’s connected
- Start an HTTP server, and listen for requests
- When a GET request is received at /led, return the status of the LED that tells you if the coffee maker is on or not.
- When a POST request is received at /toggle, click the relay that toggles the on/off button on the coffee maker. (any logic to determine if coffee maker is already on/off will need to be implemented in software)
